Water intrusion in basements and crawl spaces is a common concern for many Canadian homeowners, especially in areas prone to heavy rain and snowmelt. Interior waterproofing effectively manages water once it enters your home, keeping spaces dry and preventing damage.
However, many wonder how long the installation process takes and what factors influence the timeline. Understanding the installation duration helps homeowners plan accordingly and minimise disruption.
This blog will explore the typical timeframe for interior waterproofing installation, key influencing factors, and practical advice for preparing your home.
Typical Installation Time Frame for Interior Waterproofing
The duration of interior waterproofing installation can vary depending on the area’s size, the system’s complexity, and the specific methods used.
- Standard basement waterproofing typically takes 3 to 5 days. It includes installing drainage pipes along the perimeter, applying sealants, and setting up sump pumps or drainage systems.
- Smaller crawl spaces or partial waterproofing may take 1 to 2 days: Limited access and a smaller surface area reduce the labour and time required.
- Additional work, such as floor removal or repair, may extend the timeline. If existing flooring or walls need to be removed or repaired before installation, expect more time.
Most professional contractors aim to complete the job efficiently without compromising quality, minimising the inconvenience to your daily life.
Factors That Affect Installation Duration
Several factors influence how long an interior waterproofing project will take, ranging from the condition of your basement to weather and materials used.
- Extent of water damage or existing issues: Homes with significant leaks, foundation cracks, or mould may require additional prep work such as cleaning, crack repair, or mould remediation.
- Type of waterproofing system chosen: Simple sealant applications take less time, while comprehensive drainage systems with sump pumps require more labour.
Size and accessibility of the space: Larger basements or those with difficult access may slow down installation, requiring more time for setup and movement. - Contractor experience and crew size: Experienced teams with more workers typically complete installations faster due to better coordination and expertise.
Understanding these factors helps set realistic expectations and assists you in discussing timelines with your contractor upfront.
Preparing Your Home for a Smooth Installation Process
Proper preparation can reduce installation time and avoid delays during your interior waterproofing project.
- Clear out the contents of the basement or crawl space: Remove furniture, storage items, and valuables to provide unobstructed access for workers and equipment.
- Ensure proper ventilation and lighting: Good airflow and lighting help the crew work efficiently and safely throughout the installation.
- Communicate with your contractor about schedules and access: Confirm timing, entry points, and any specific requirements before work begins.
- Consider temporary living arrangements if needed: While most projects are minimally disruptive, sensitive items or severe water issues might require short-term adjustments.
Preparing in advance speeds up the process and helps ensure a smoother experience for everyone involved.
What Happens During the Installation Process?
Knowing the general steps involved in interior waterproofing can clarify why specific tasks take time and what to expect.
- Initial inspection and surface preparation: Contractors examine walls and floors, clean surfaces, and repair cracks or damage.
- Installation of drainage system: Perforated pipes are laid along the perimeter, often recessed into a trench in the basement floor.
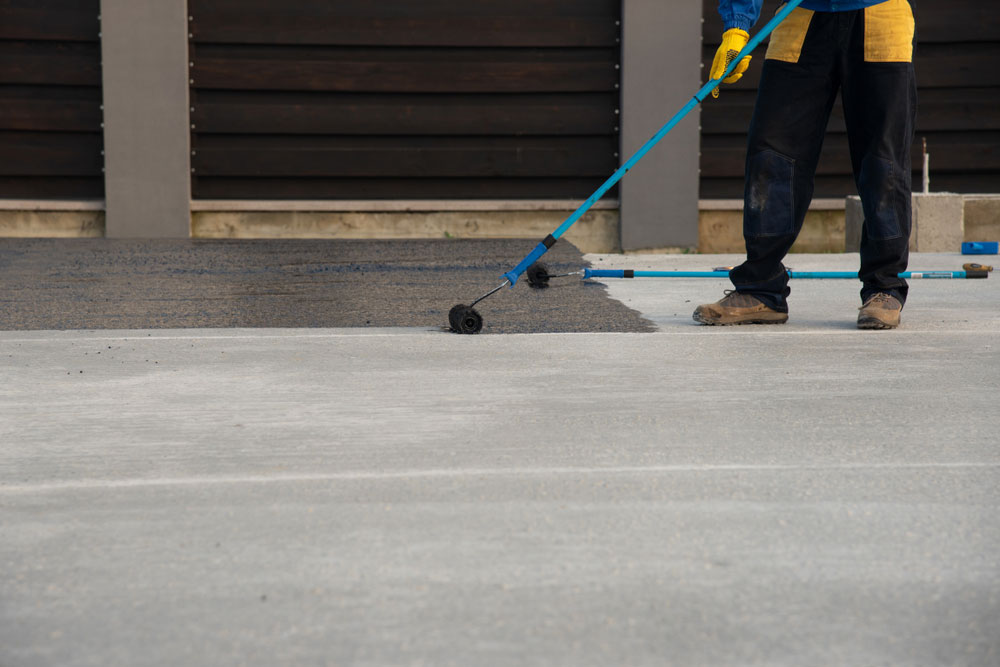
- Application of waterproof sealants and membranes: Walls and floors are coated to prevent moisture penetration.
- Setting up a sump pump and drainage outlets: Under local building codes, the water collected by the drainage system is pumped to an exterior drainage point or municipal stormwater system.
- Final cleanup and inspection: The area is cleaned, any removed flooring or panels are replaced or repaired, and the system is tested for proper function.
Each step requires attention to detail, contributing to the overall timeline but ensuring lasting protection.
Post-Installation Considerations and Maintenance
Once interior waterproofing is installed, maintaining the system helps extend its life and effectiveness.
- Regularly inspect sump pump and drainage outlets: Clear debris and test pumps periodically to ensure water is being removed efficiently.
- Monitor basement humidity and look for signs of water. If necessary, use a dehumidifier to keep moisture levels low.
- Schedule professional inspections every few years: Experts can identify potential issues early and recommend maintenance or upgrades.
Maintaining your waterproofing system helps protect your home and prevents future costly repairs.
The installation of interior waterproofing typically takes between 3 and 5 days for most basements. However, the exact duration depends on factors like the system complexity, the condition of your home, and the size.
Preparing your home correctly, understanding the installation steps, and working with an experienced contractor can ensure the process runs smoothly and efficiently. Interior waterproofing is a valuable investment that protects your home from moisture damage, mould growth, and structural issues.
Knowing what to expect regarding installation time helps you plan accordingly and enjoy the benefits of a dry, safe living environment.

